Managing Audit Trails
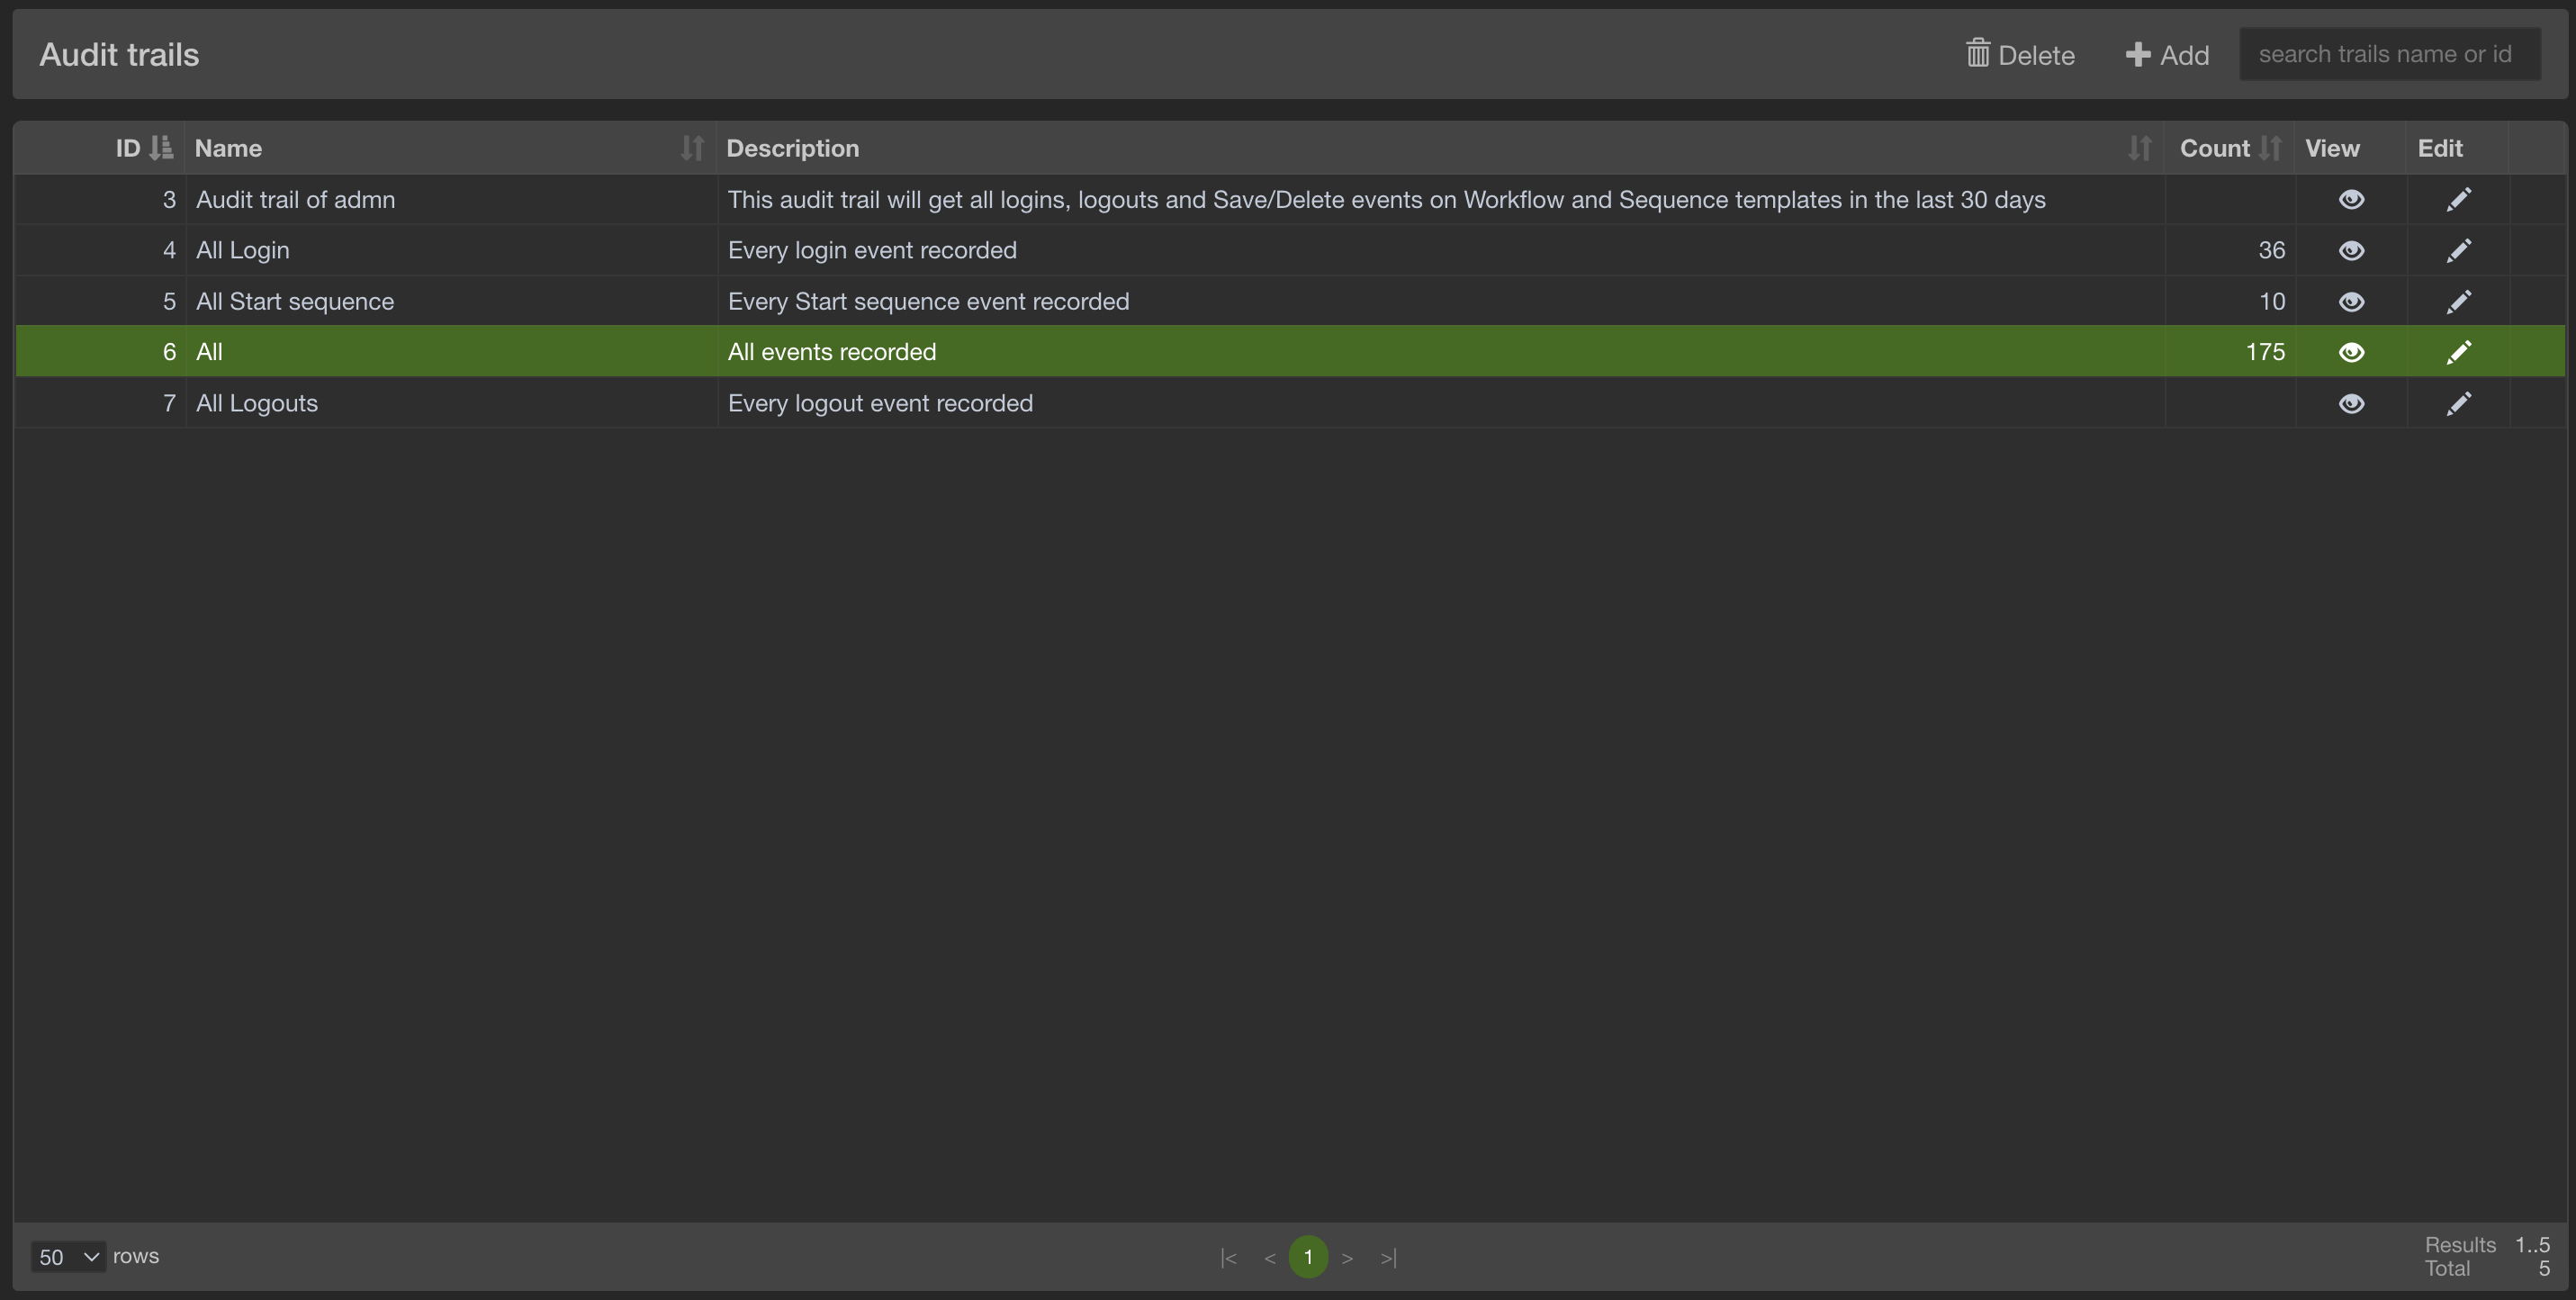
The audit trails list
Here you can view, delete, edit all your audit trails and add new ones.
Adding an audit trail
To add an audit trail click the add button in the top right corner of the page, this will open the audit trail form.
Deleting audit trail(s)
To delete one or multiple audit trails, select the rows in the list and click the Delete button in the top right corner of the page.
Viewing an audit trail
To view an audit trail you can double-click on the desired audit trail or click on the eye in the view column.
Editing an audit trail
To edit an audit trail you can click on the pencil in the edit column, this will open the audit trail form.
The audit trail form
This form allows you to create or edit audit trails, you can use all sorts of search parameters to filter through all the events recorded by the server and get what you need.
Name and description
You need to give a unique name to your audit trail and a description.

Search parameters
Sort by
You can sort by Time, Type, Target, Object Name, Object ID, and Username. The sorting is in ascending order. The default sorting is by time.
Period
You can search events that occurred Today, This week, This month, This year, Last days, Last weeks, Last months, Last years.
When you select an option starting with "Last" you may specify an amount.
Username
You can filter events made by a user using the username of the user. It needs to be the exact username.
Some events like "Login failed" can't record users so keep that in mind when using this parameter.
Browser
You can filter events with the information contained in the browser column of the events.
It will check if your entry is contained inside the browser info.
In our example we use "Firefox".
If an event browser info contains "Mozilla/5.0 (Macintosh; Intel Mac OS X 10.15; rv:109.0) Gecko/20100101 Firefox/119.0"
it will keep it in the search
URL
You can filter events using the url that was used in the event. It needs to be the exact path.

IP
You can filter the events using the IP used in the event. It needs to be the exact IP.
You can search for multiple IPs at the same time.

Types and Targets
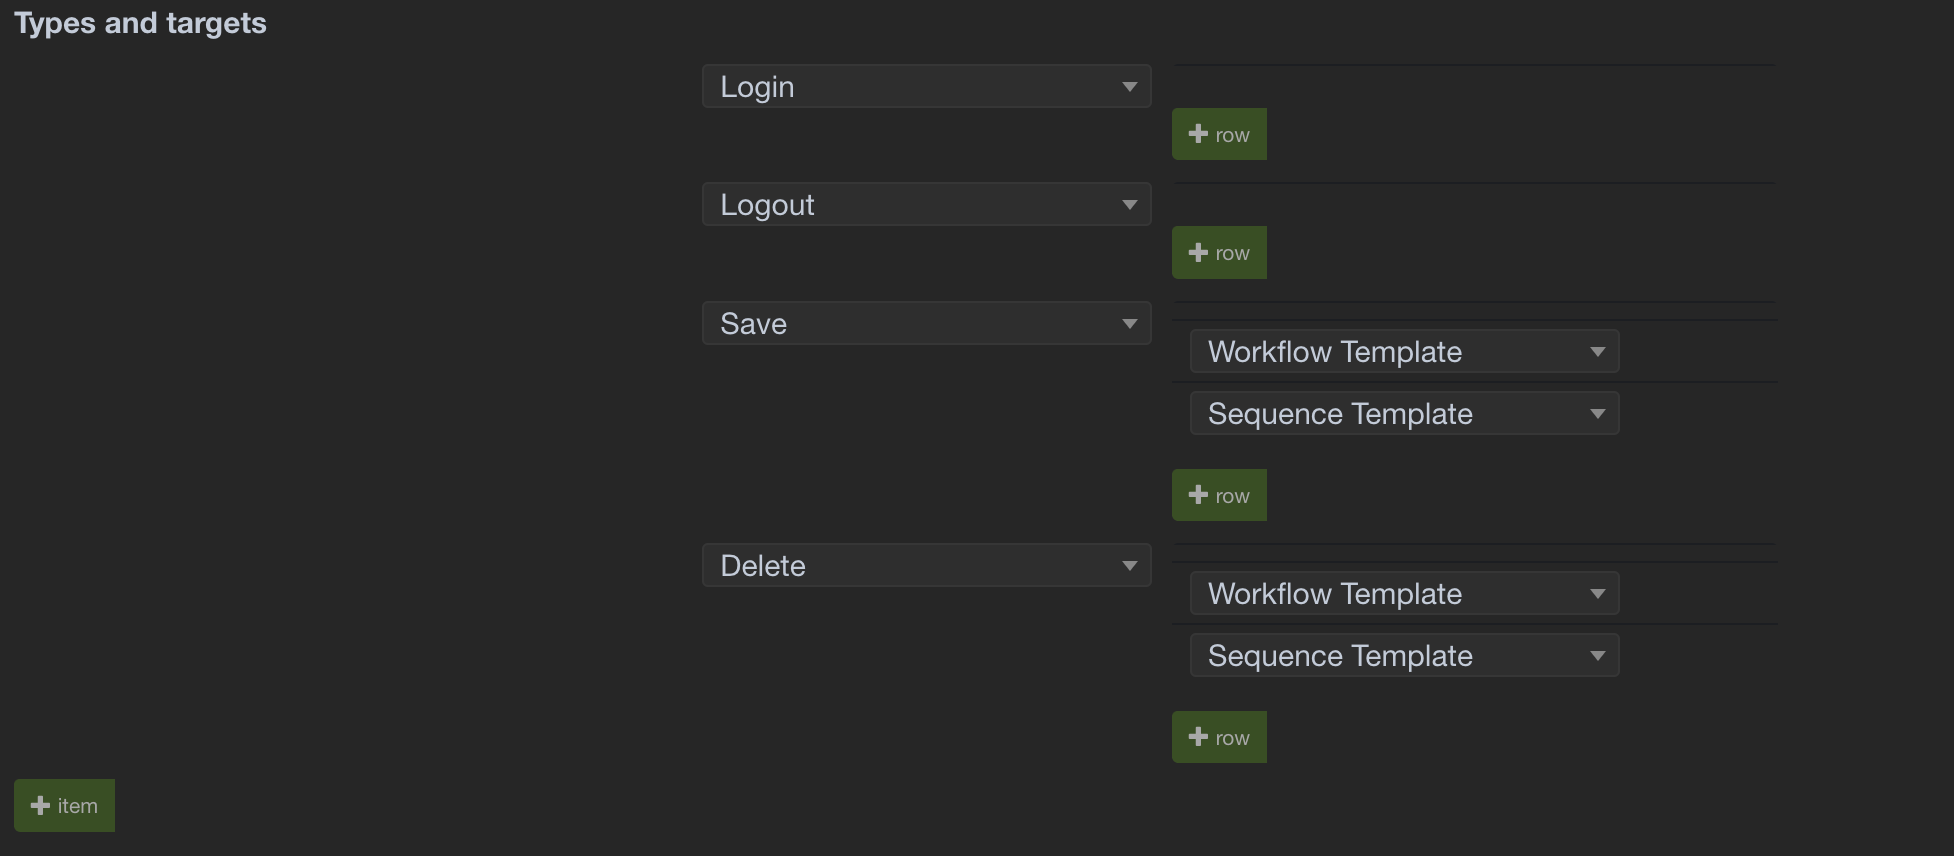
You can select the Type of the event. You can select multiple Types. For every Type filter you add you can also select the Target of the event. You can select multiple Targets per Type.
Putting no filter is the same as putting an "All" filter
When you are done tuning the audit trail to your needs, save it, and it will create/update the audit trail. You will then find your audit trail in the audit trails list page.
The audit trail view
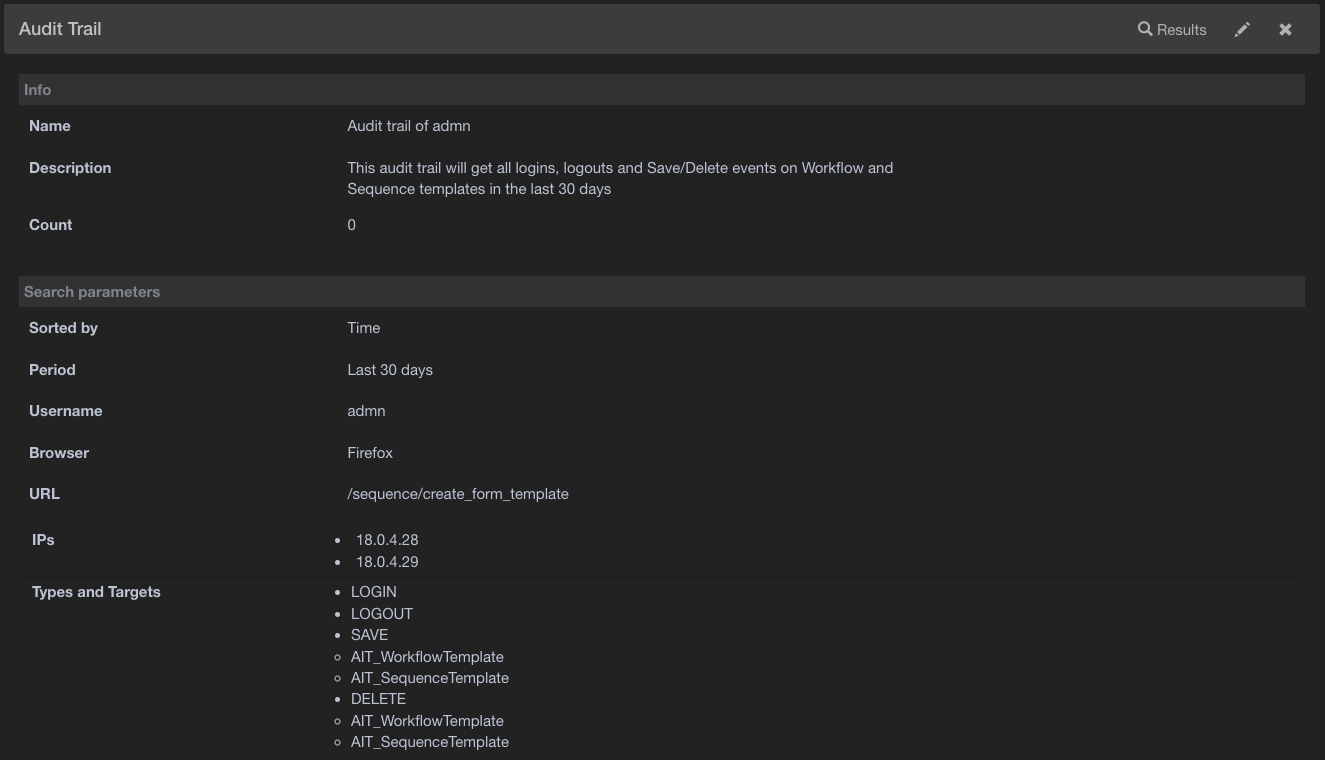
From here you can view the parameters of the audit trail and the number of events found with that audit trail the last time you used it. You can also go to the edit form, go back to the list or access the results of the audit trail.
Using the audit trails
There are two ways of using and accessing the results of your audit trails :
The manual way
You need to access the results from the audit trail view page.
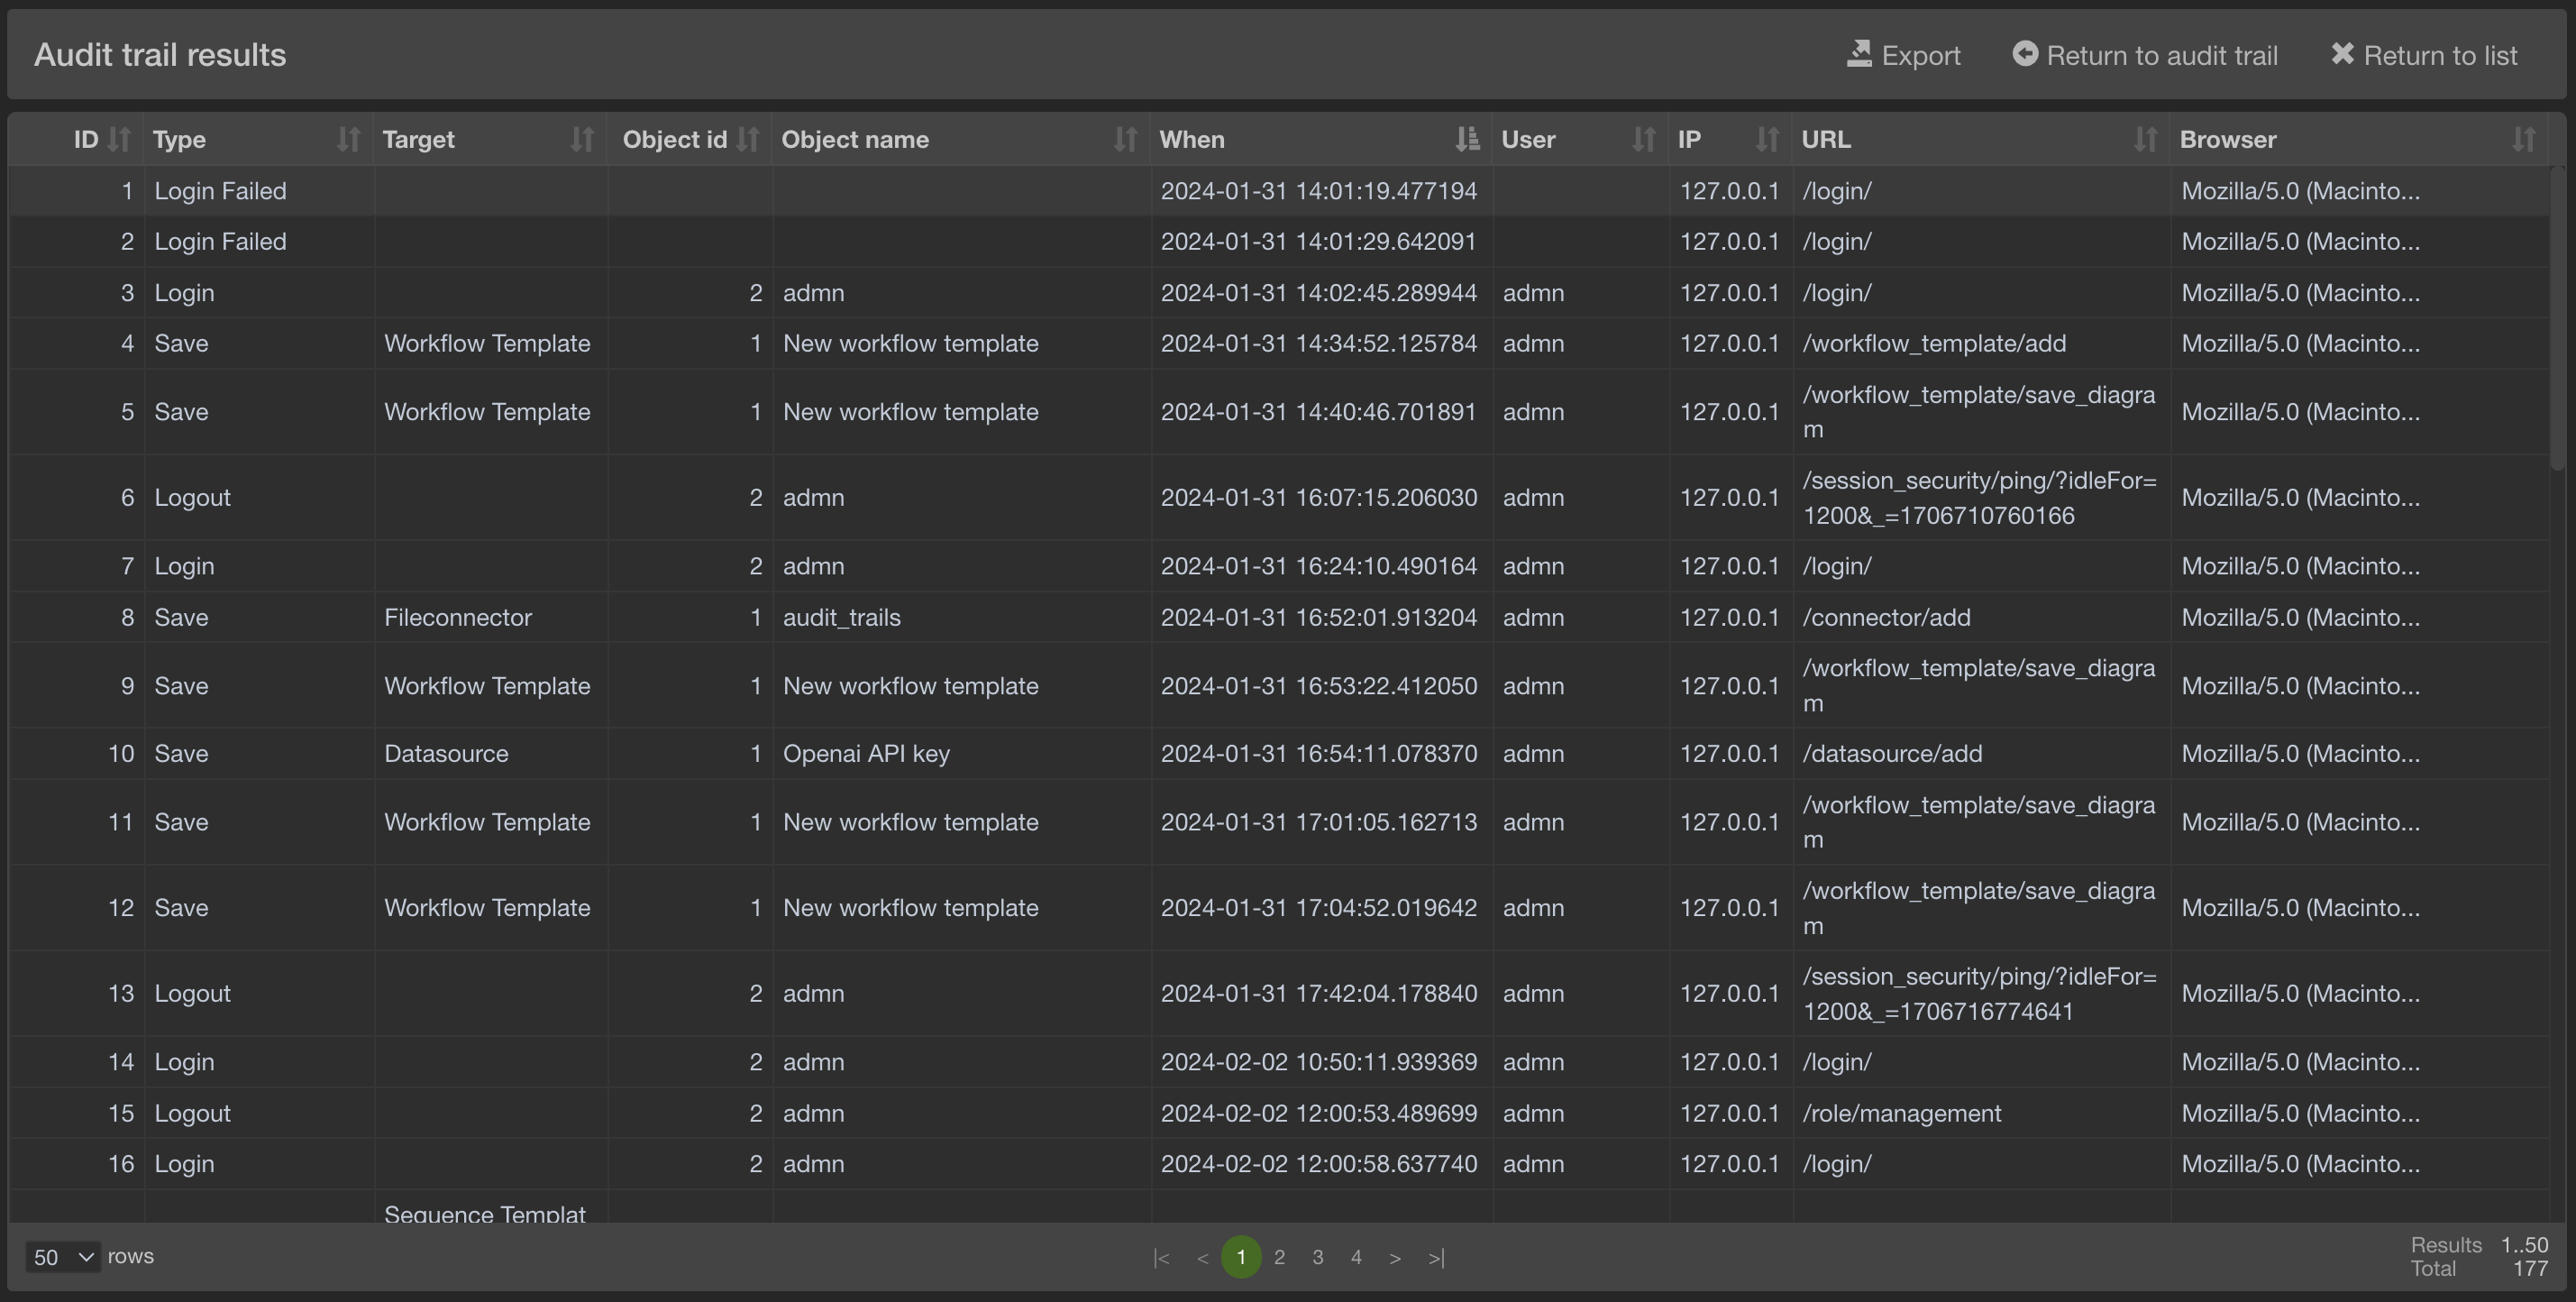
Here are the results of an audit trail with no search parameters, this means that it will extract every event.
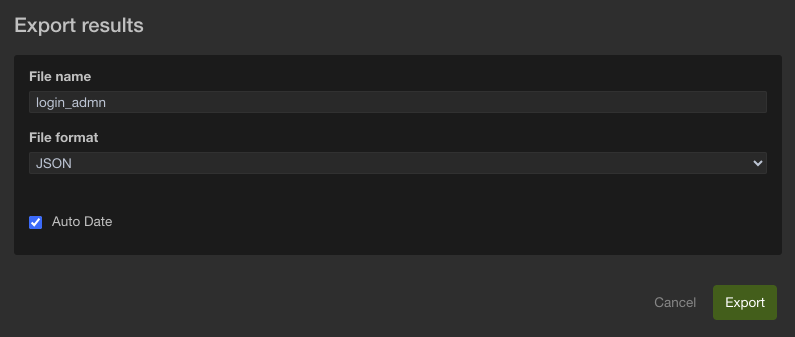
From here you can preview the results and export them in three file formats : JSON, XML and CSV You can choose if you want the file to have a timestamp in its name. Upon clicking "Save" a download will start. The results you exported will contain a more detailed browser entry and an "event_more_info" entry that, depending on the type of event, can contain information
The workflow way
You can use the Audit trail task in the workflow designer and export automatically the results of the audit trail of your choice in a local directory of the server using a file connector.
Configuring how much time the audit events stay in the database
In the factory.ini file you can find at ait_factory/conf/factory.ini there is a variable called STORING_TIME_IN_DAYS at line 186. Here you can define the number of days you want the events to stay in the database.